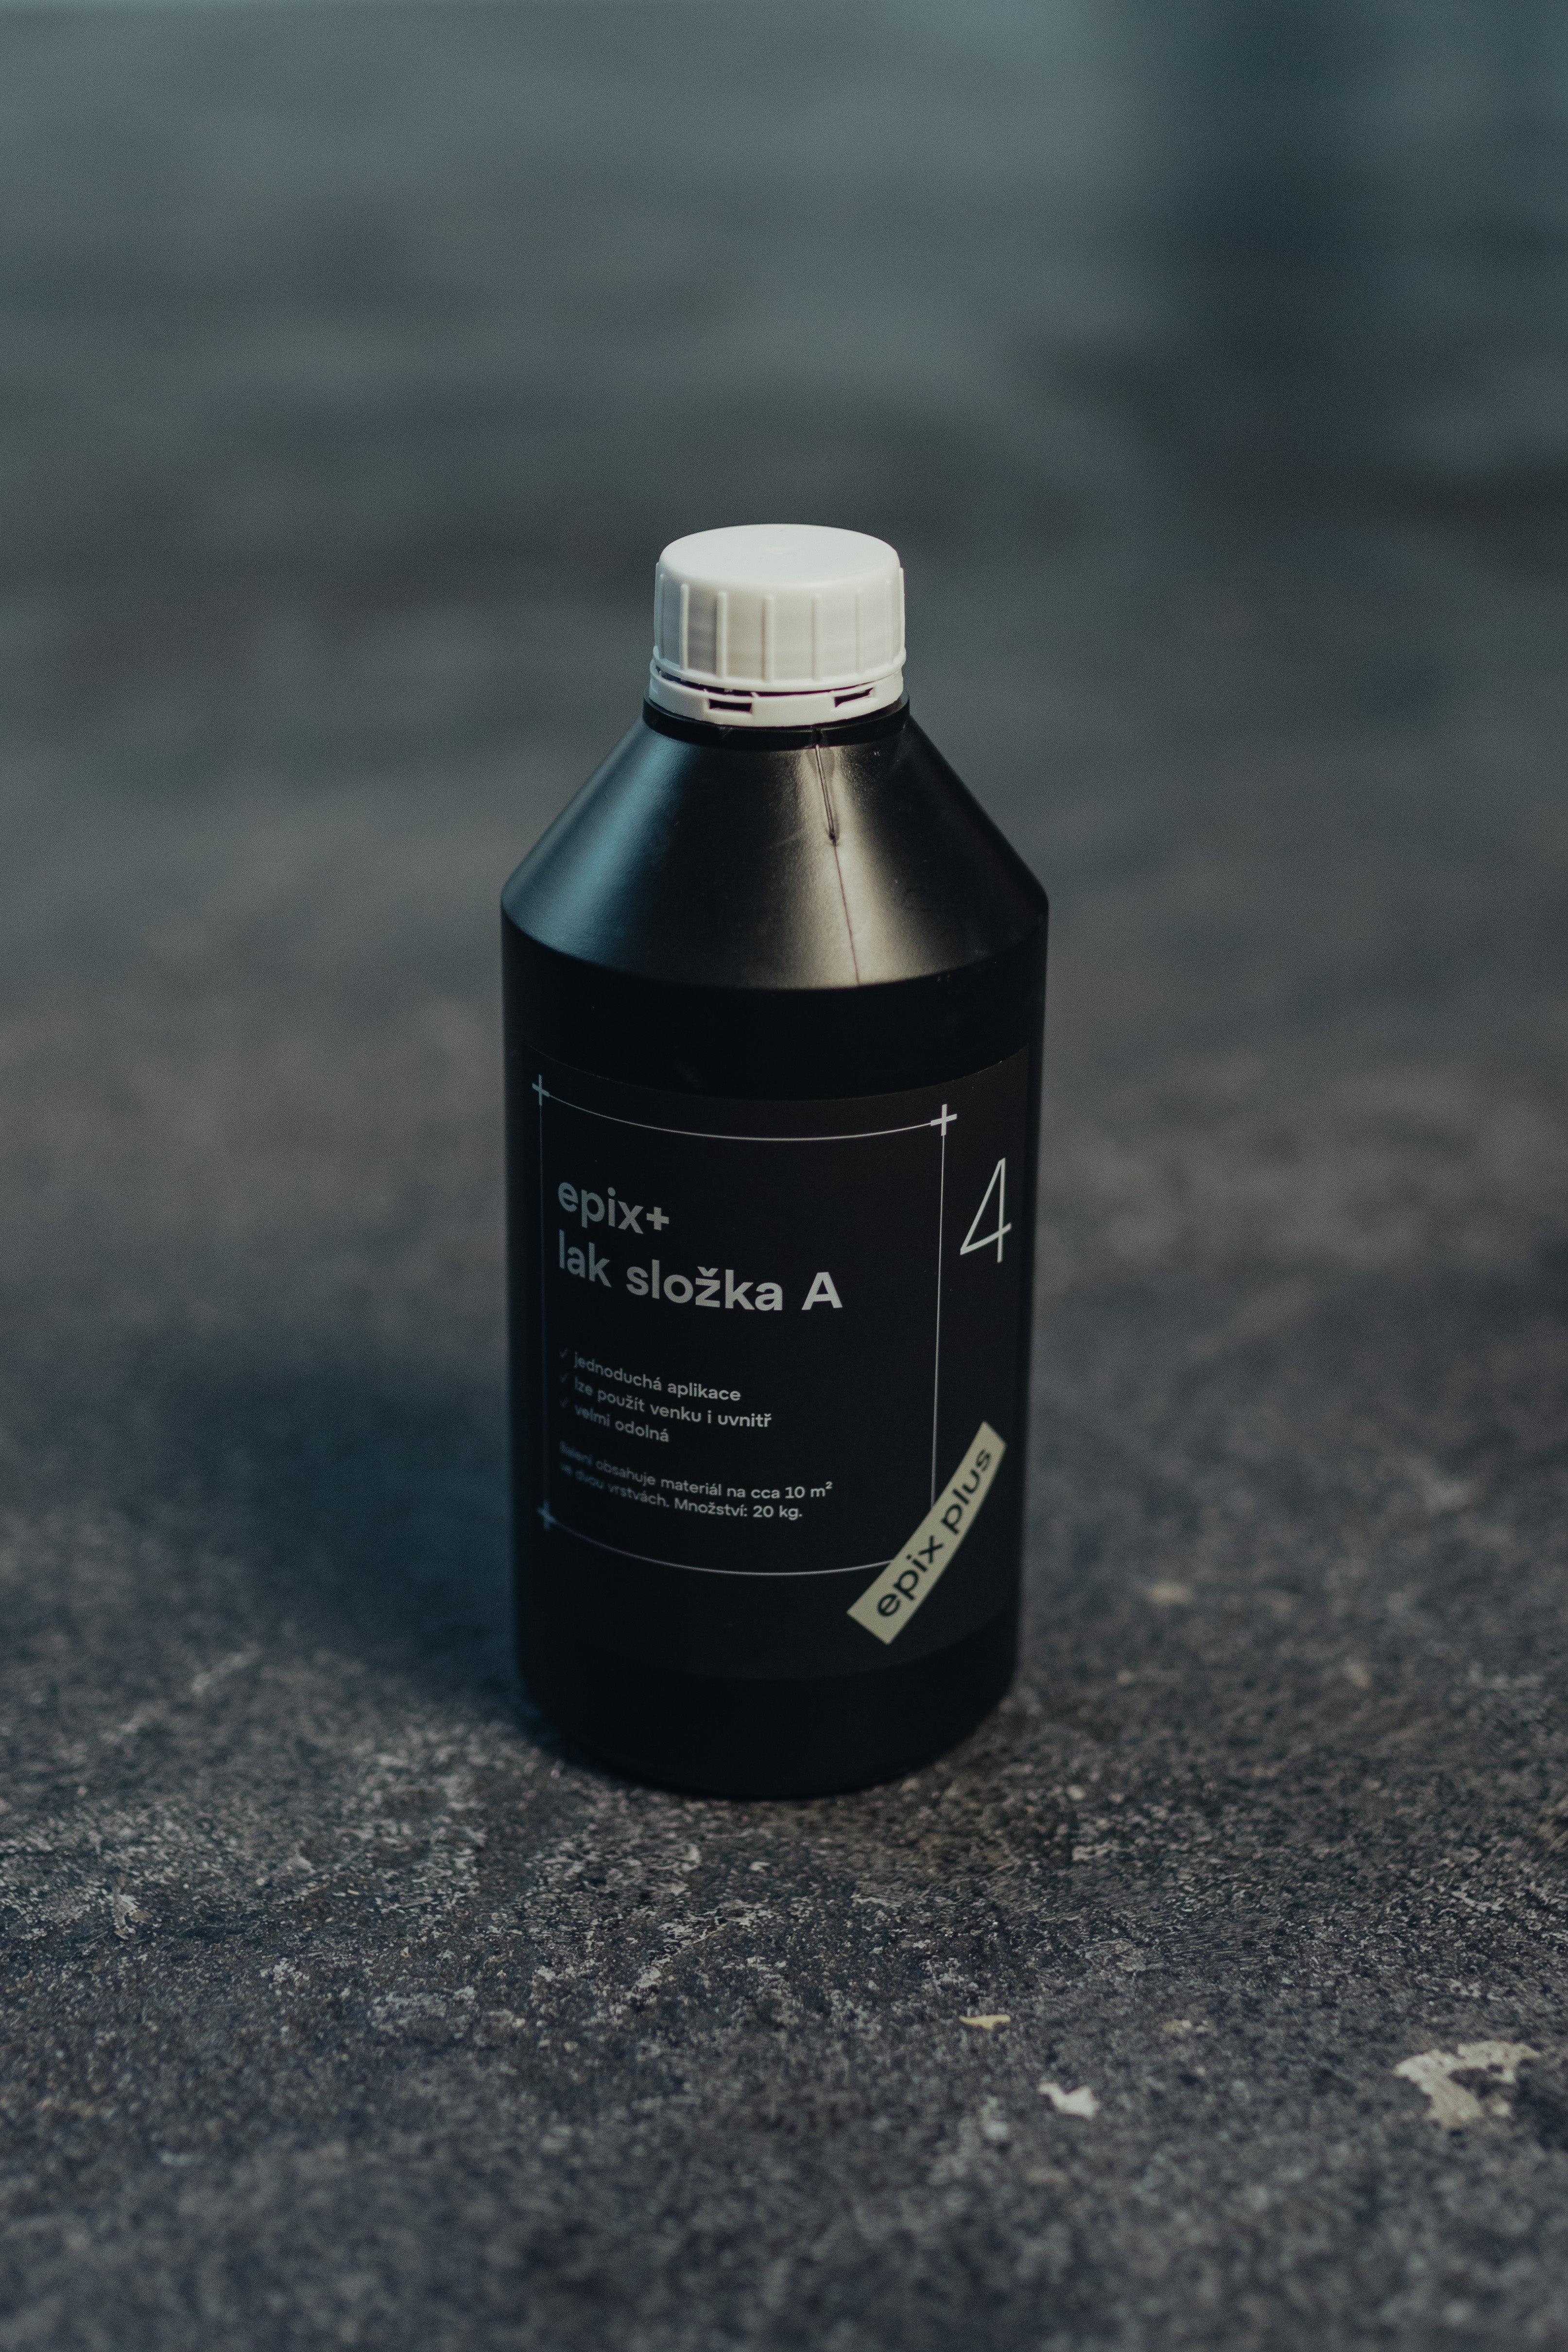
It is applied in four to five steps depending on the final look. Due to the simplicity of the application, you can beautify your home in just a few moments.
1 step
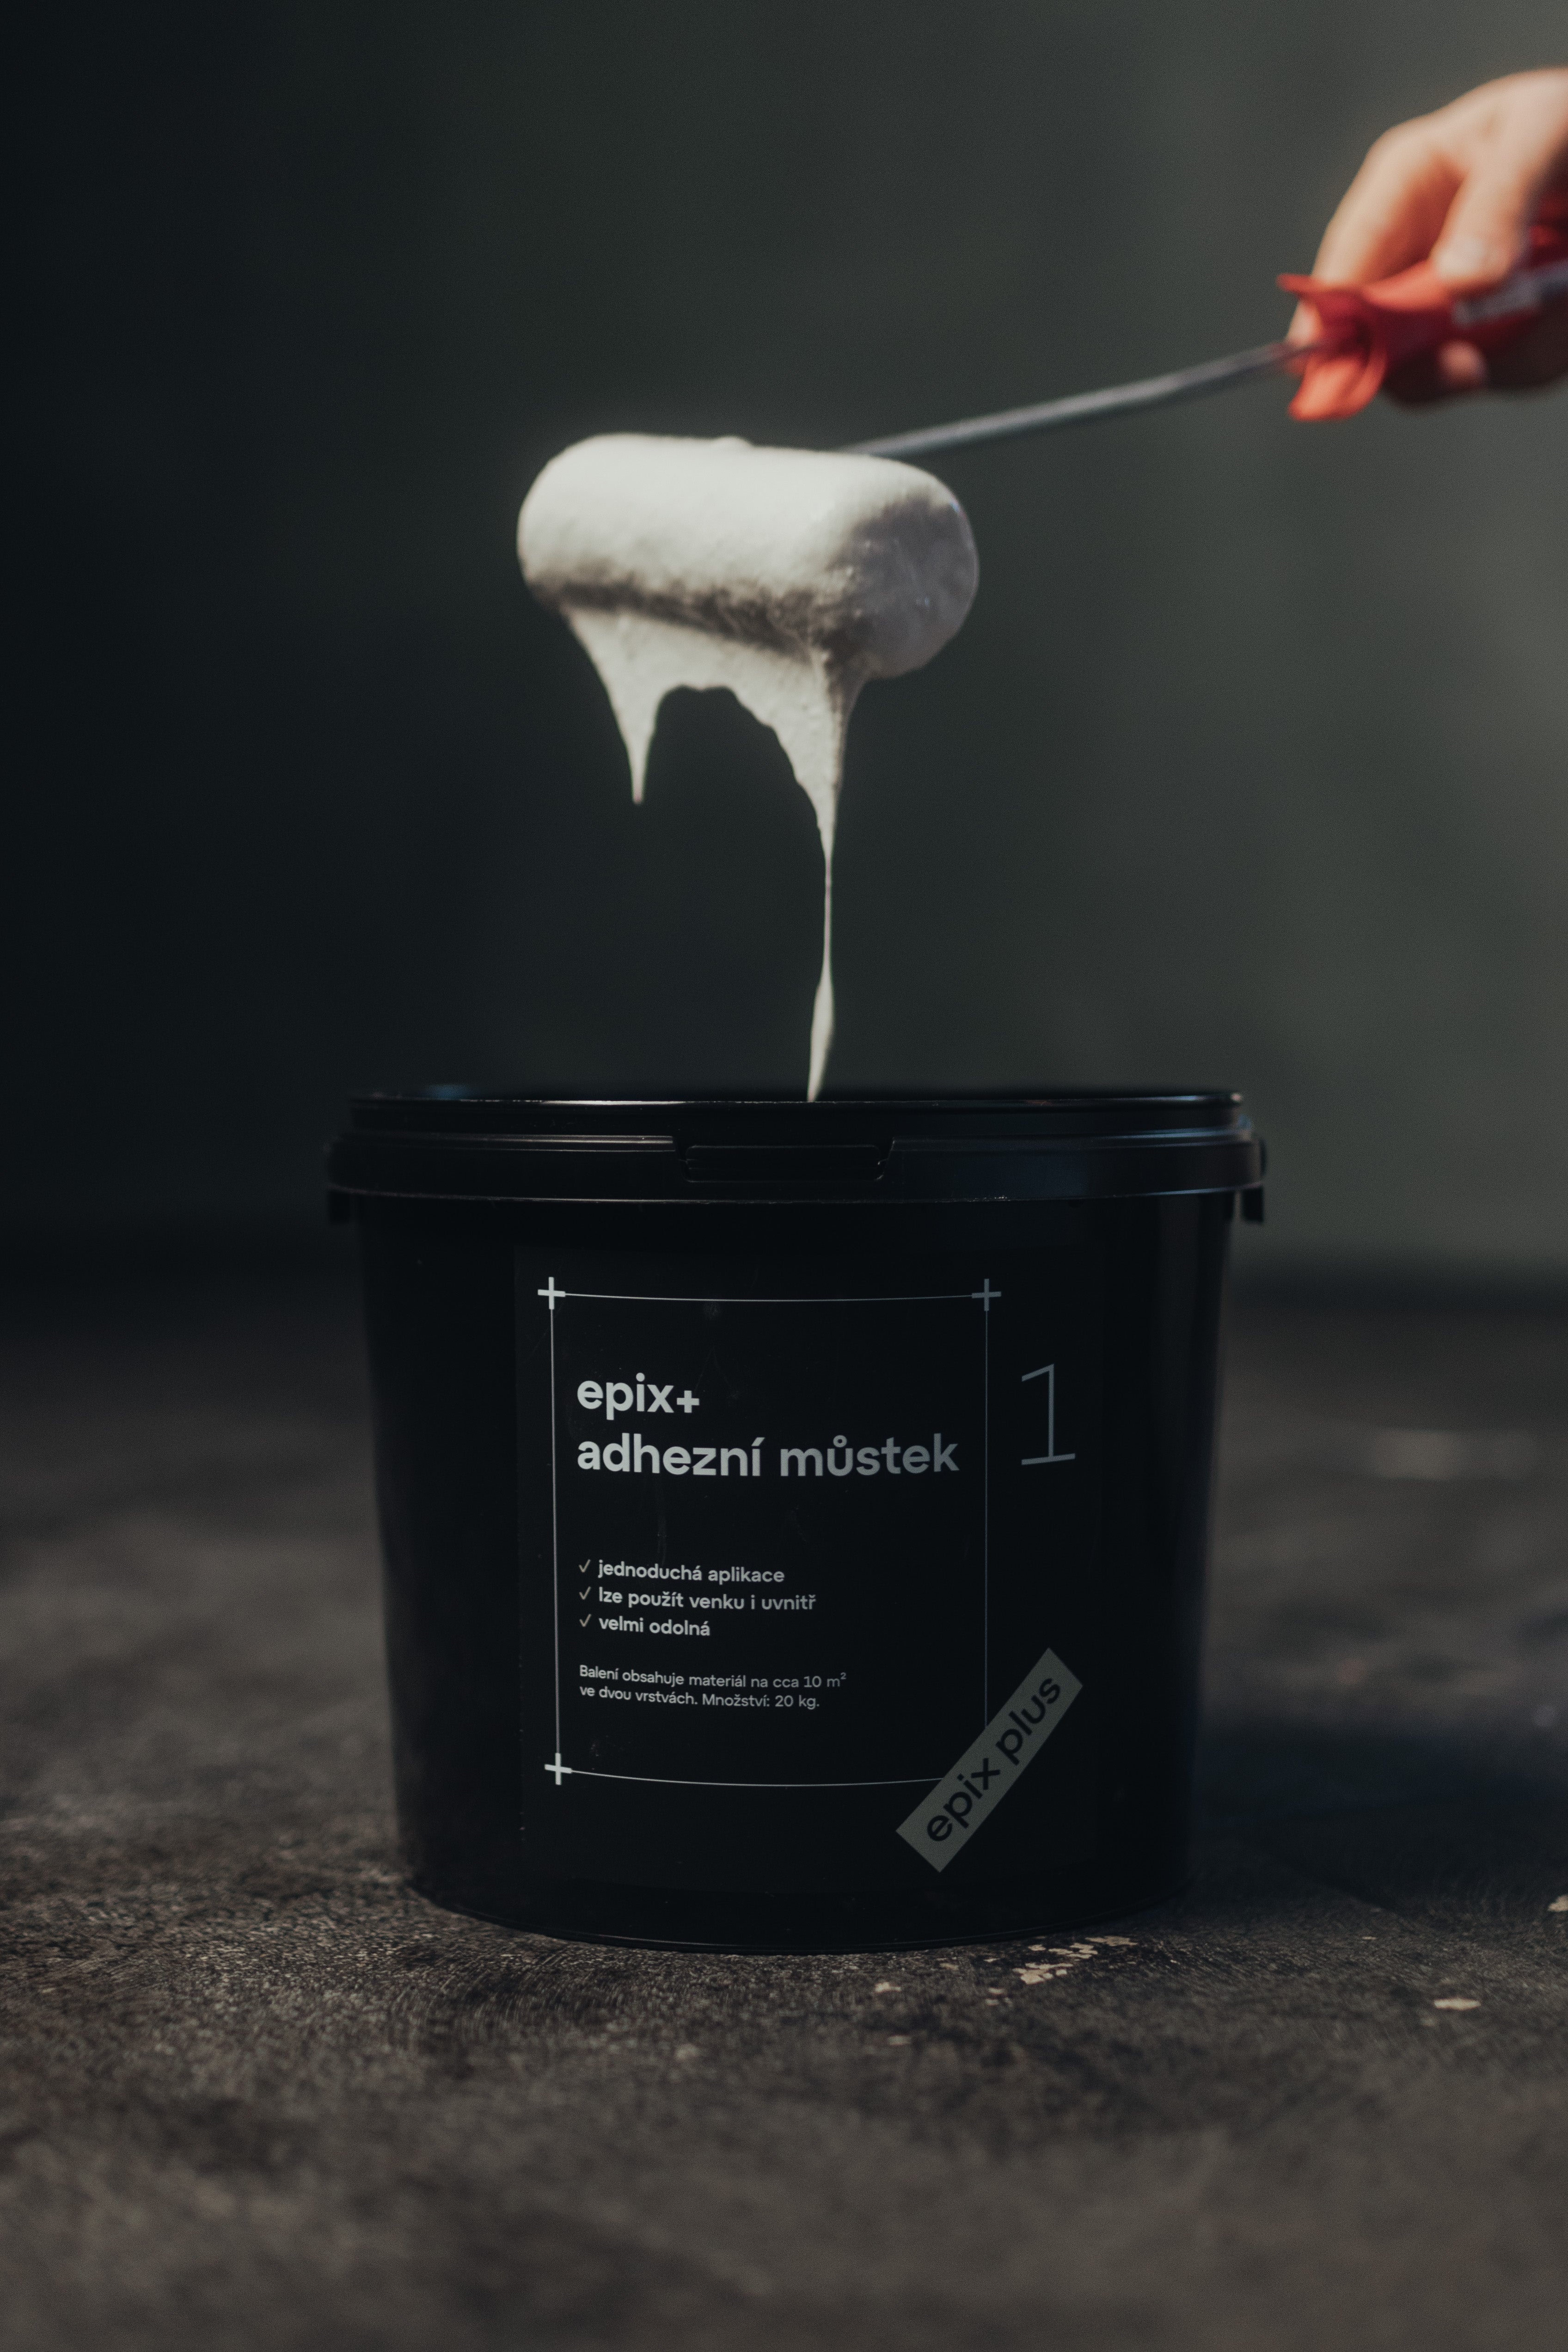
adhesive bridge
The adhesive bridge is applied to the substrate using a brush or roller in a single, even coat.
It is very important to have a properly prepared substrate. The substrate must meet the requirements for flatness within 2 mm deviation per 2 lengths. The substrate must be cohesive and clean, i.e. free of grease, glue, plaster and paint residues. Suitable surfaces include cement screed/plaster, anhydrite, and self-levelling screeds, plasterboard, cement and plaster plasters, adhesive and perlinka.
2 step
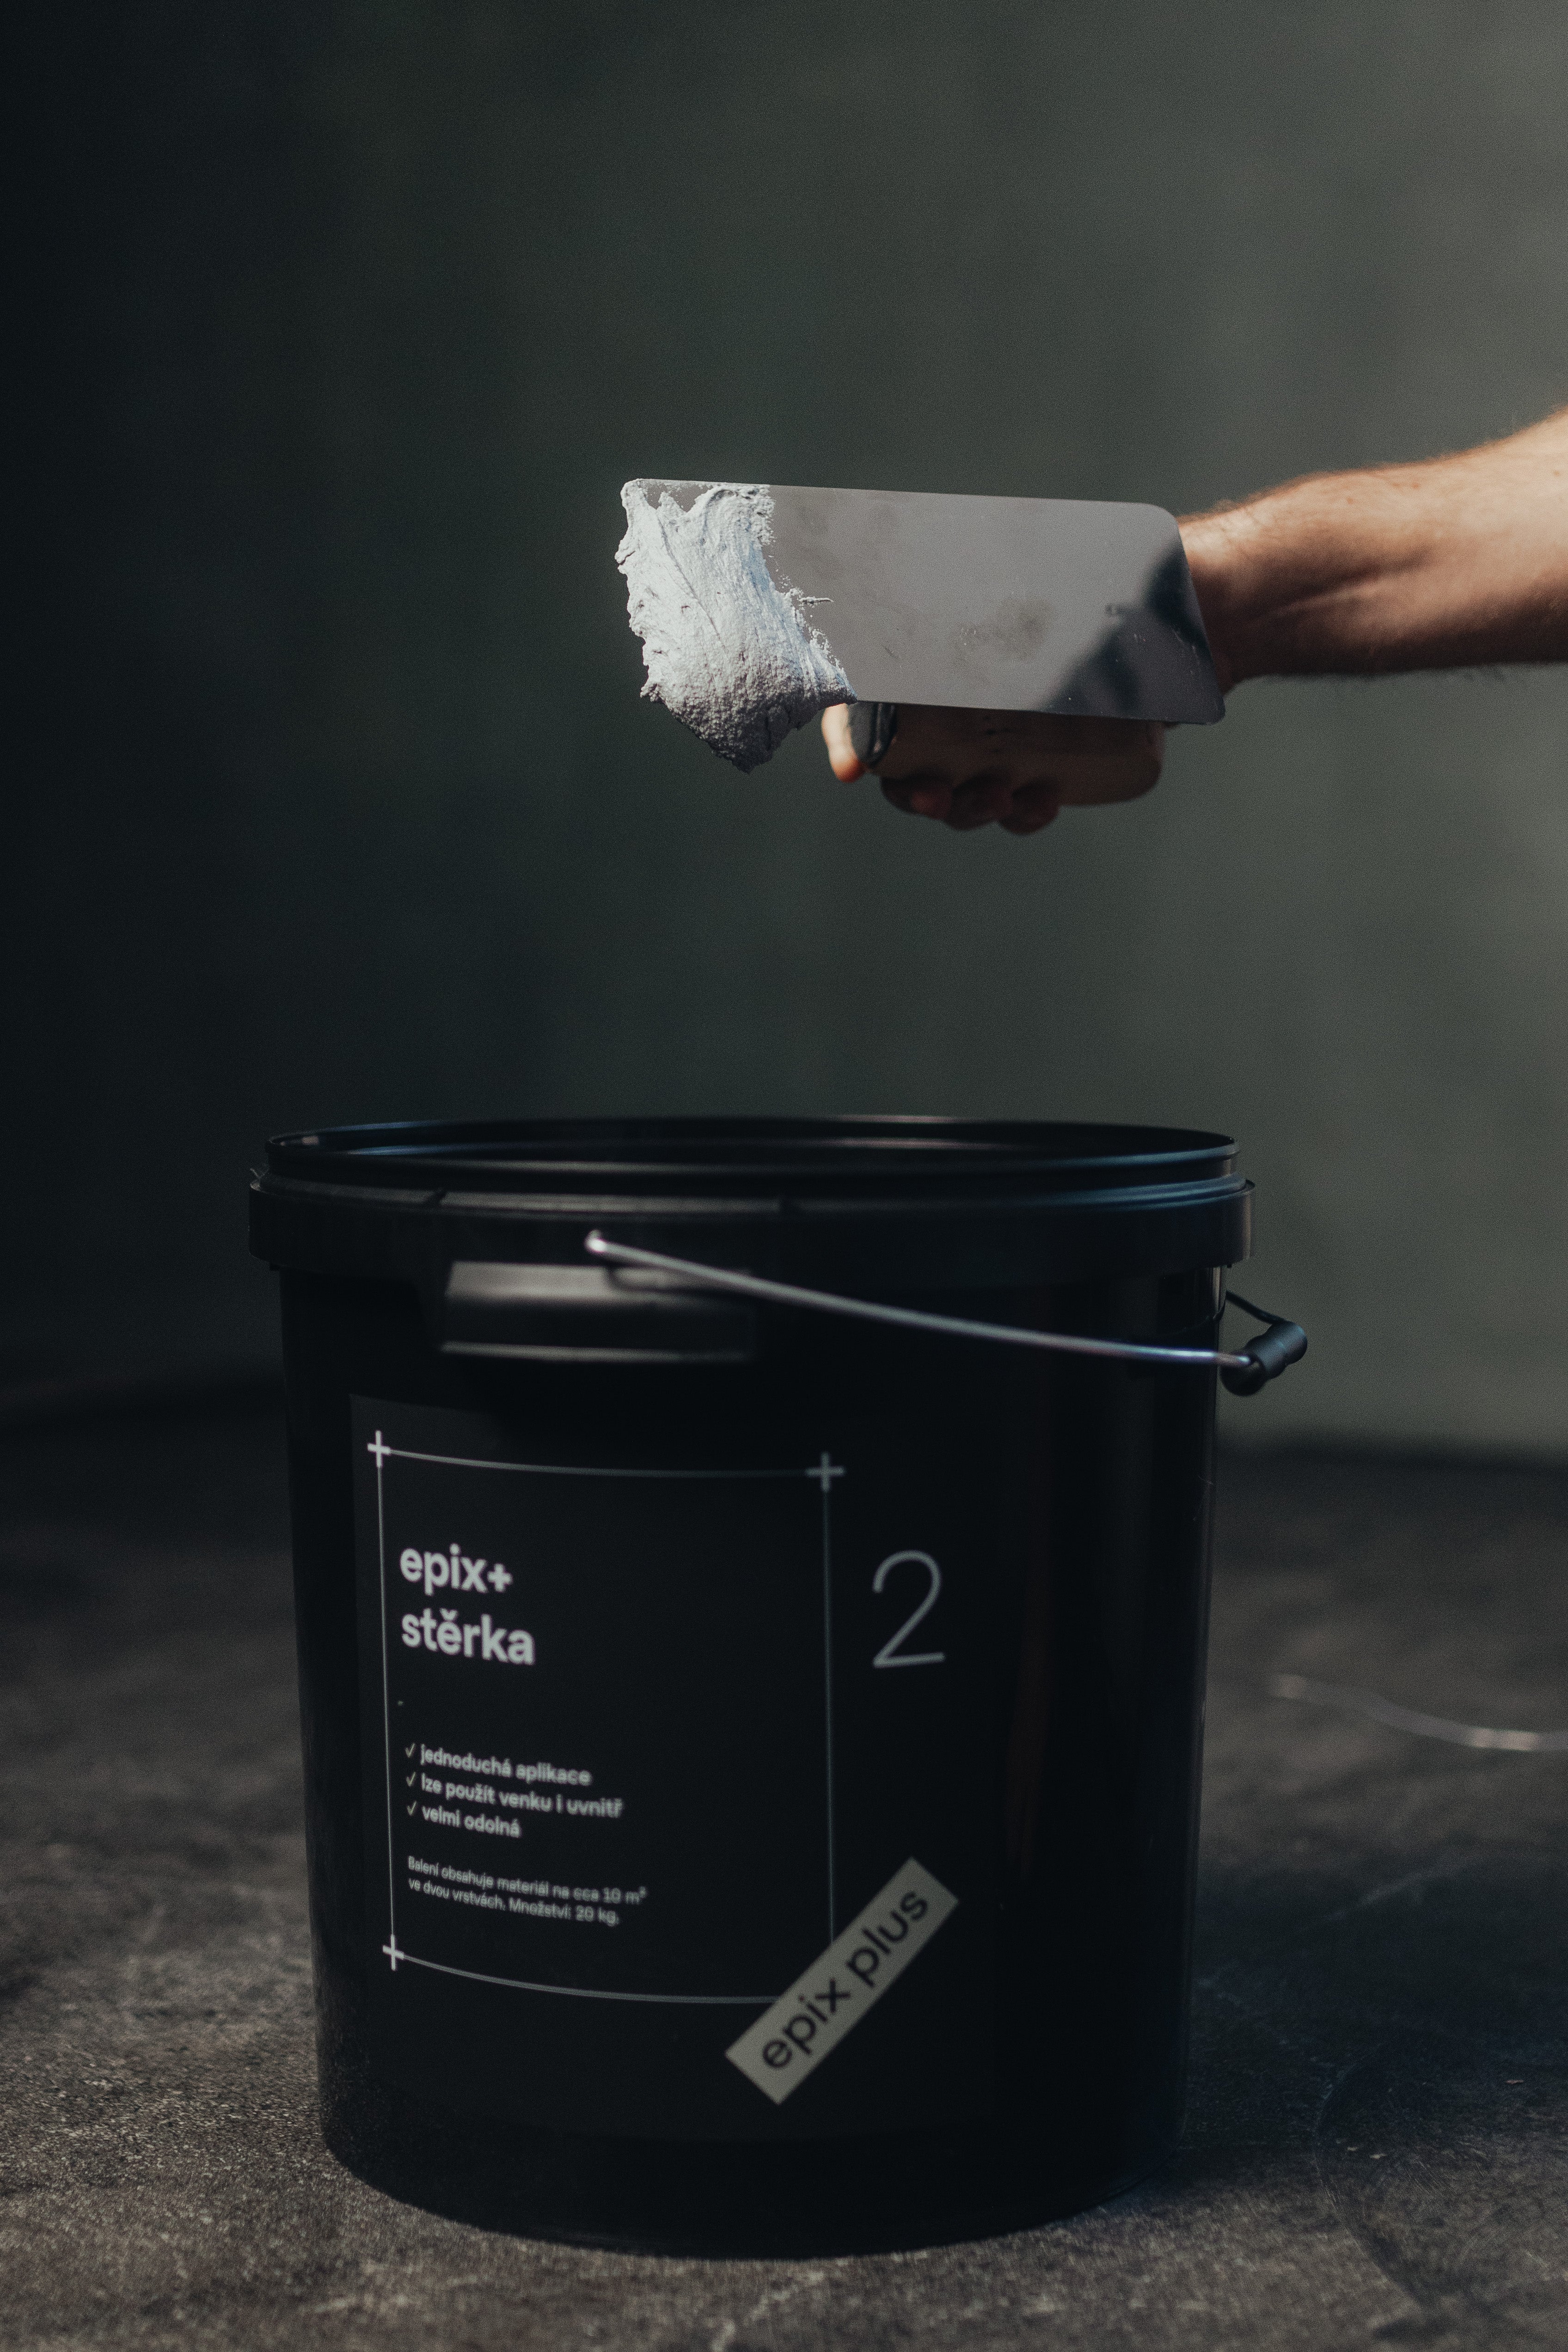
first layer of epix+
Apply the epix+ and spread evenly on the substrate with a steel trowel. If there is a lot of pressure on the epix+, it is possible that it may burn
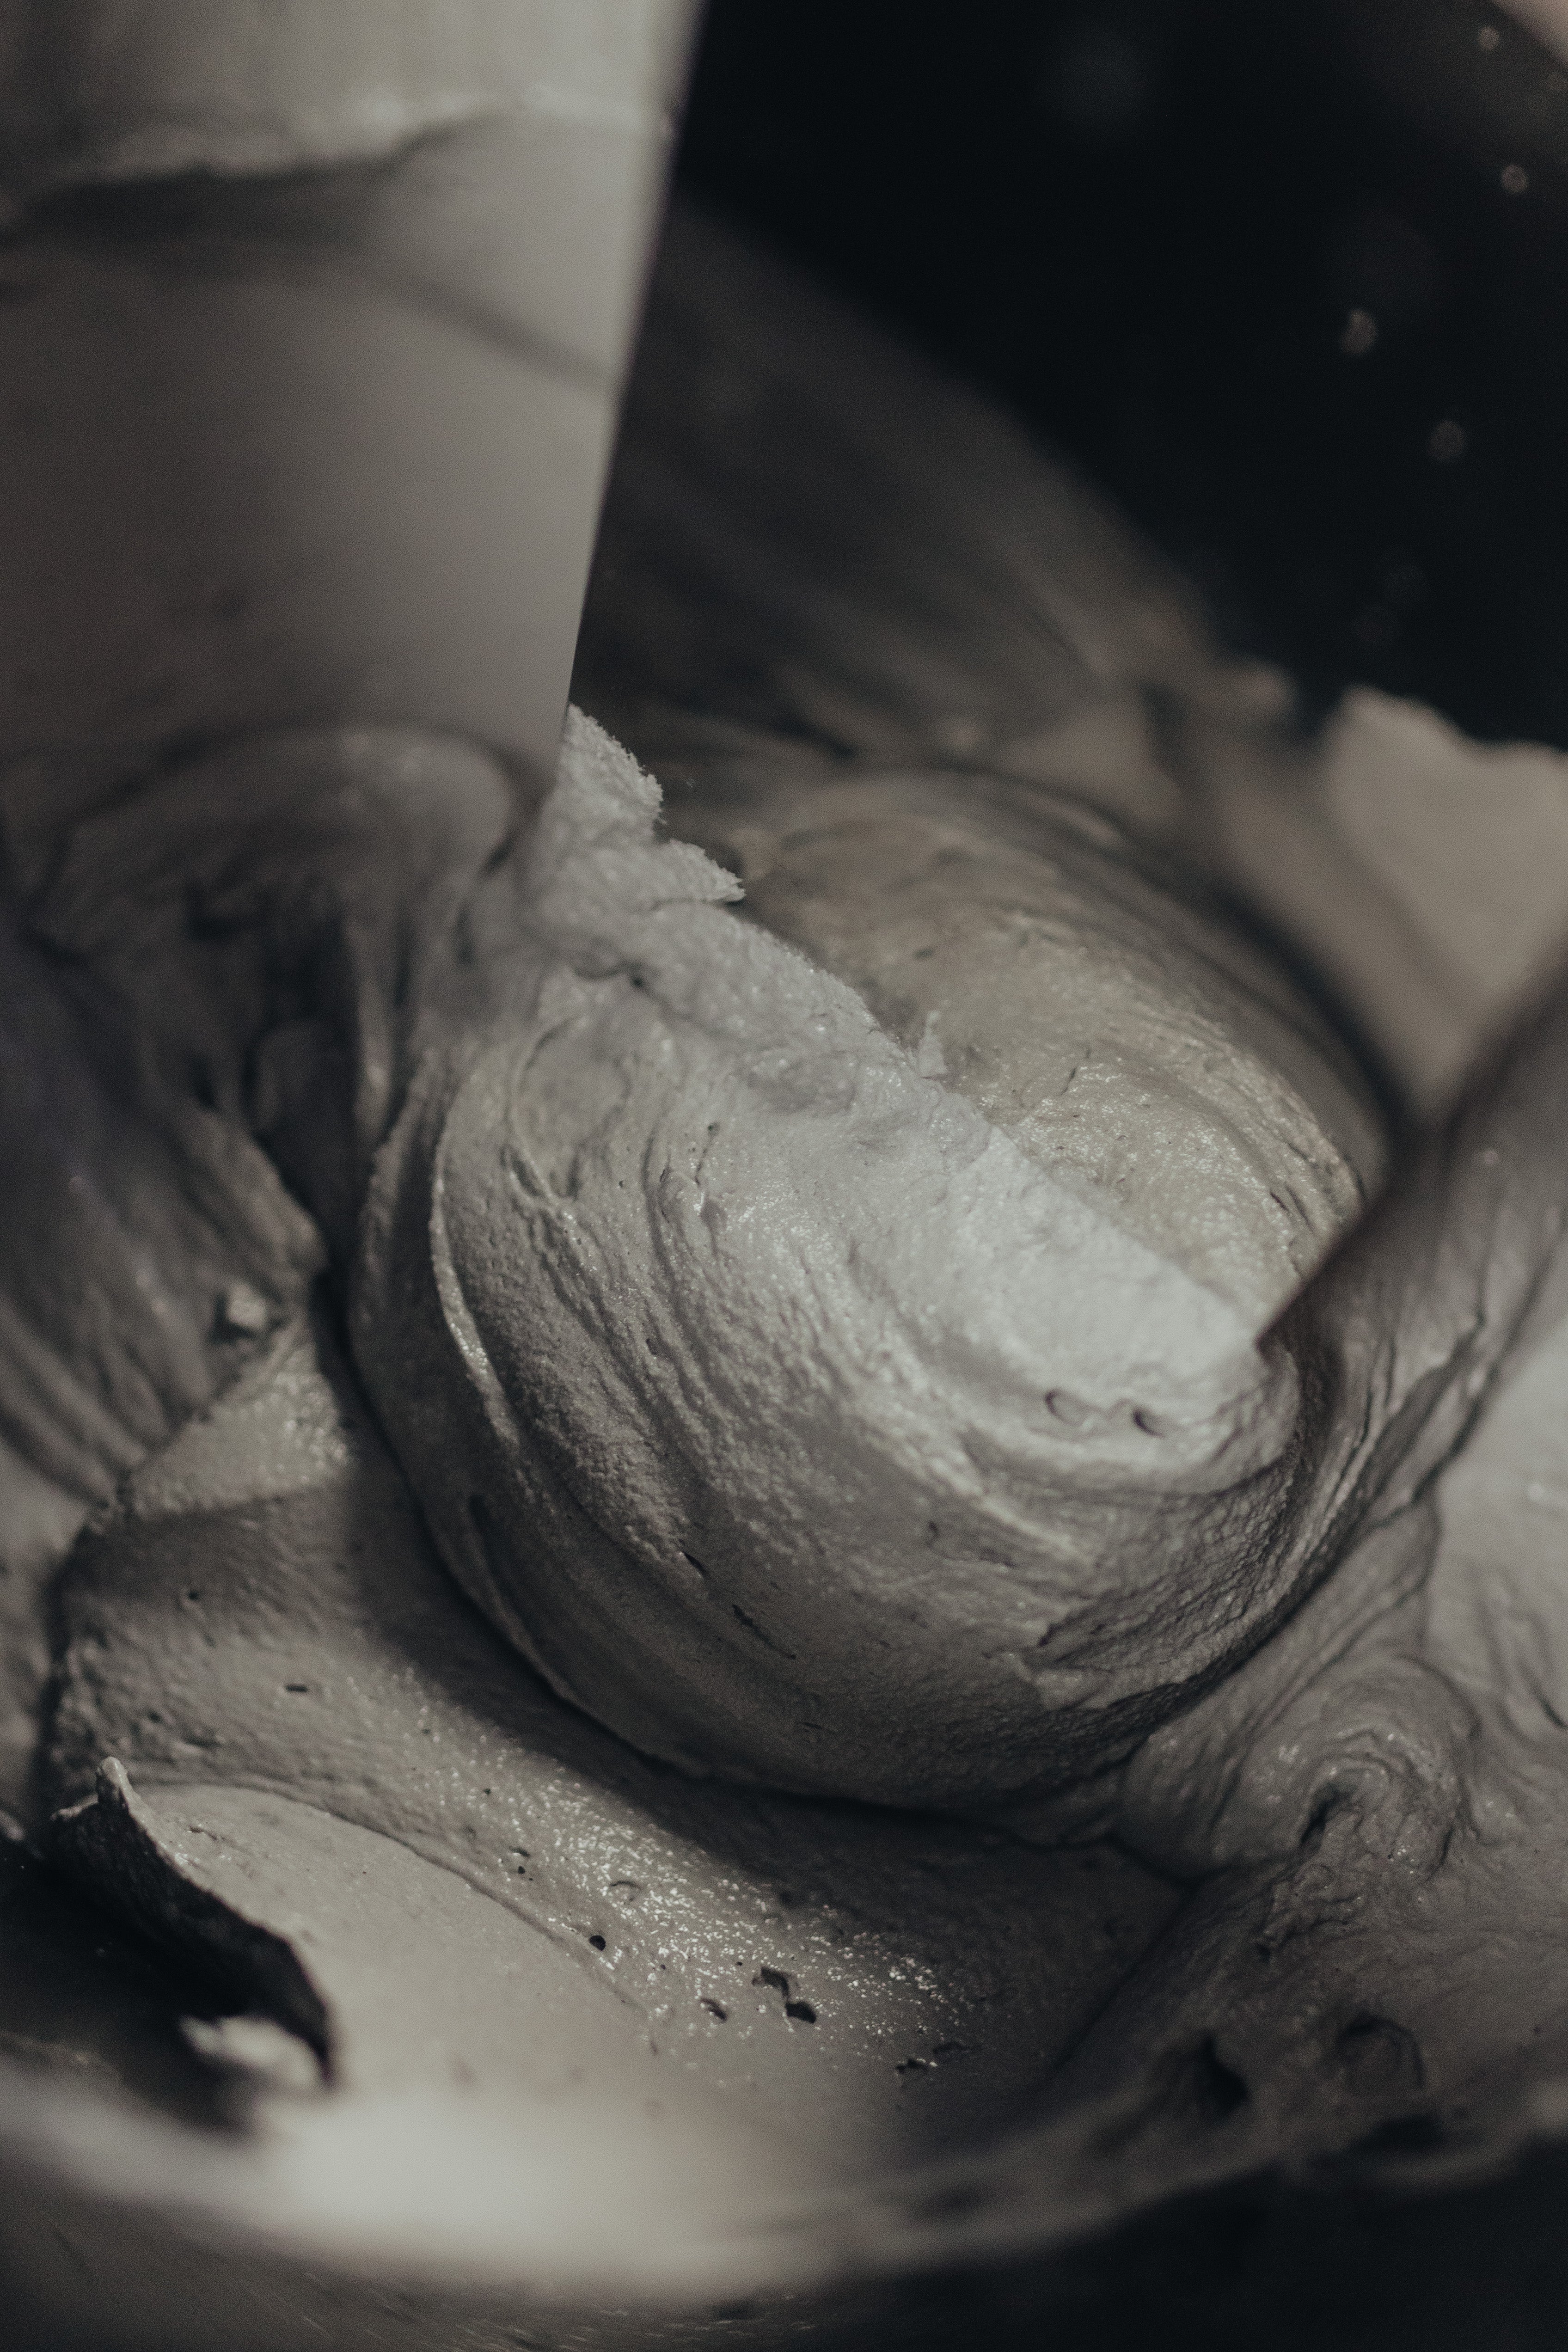
Before application, the screede shall be thoroughly mixed with a slow-speed rotary mixer to a homogeneous paste.
It is recommended that the material required for one complete area is mixed together beforehand.
3 step
second layer of epix+
Apply a second coat using a stainless steel trowel with rounded corners.
The drying time of the applied screed is approximately 24 hours at a temperature of +20 °C. During this time, the applied layer must be protected from water and frost.
4 step
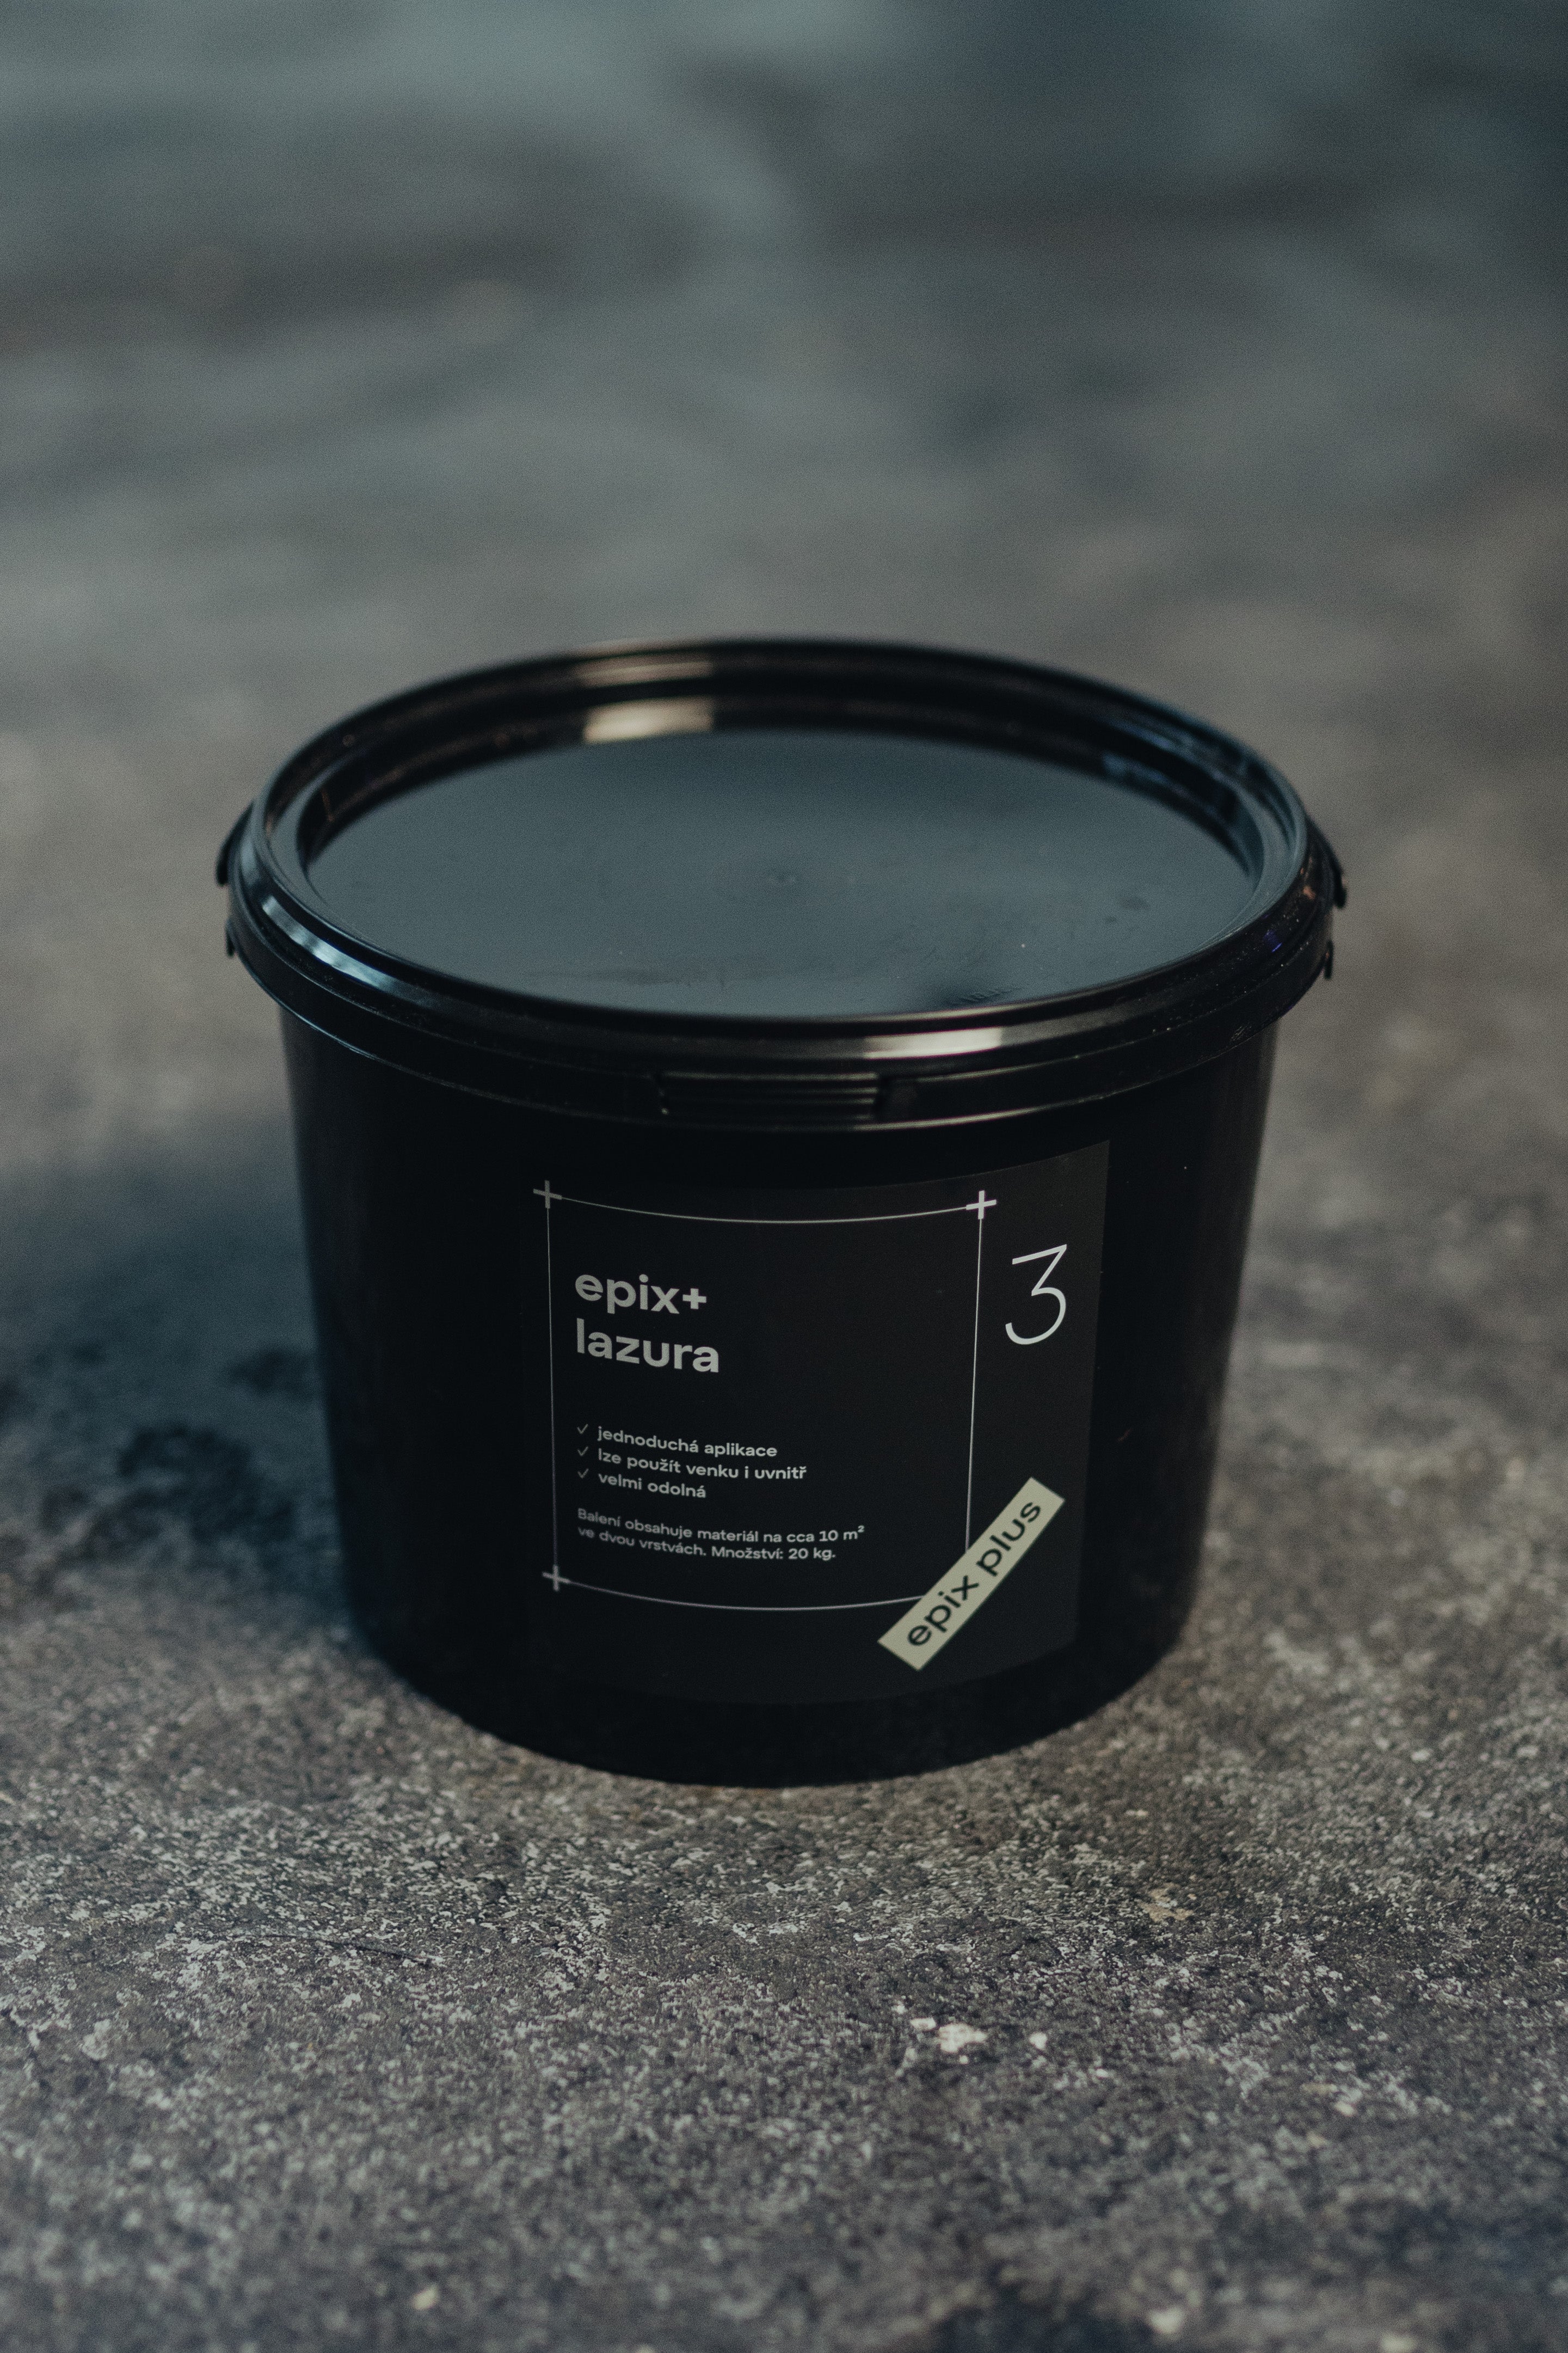
application of the varnish
Before applying the glaze, the screed should be sanded with an eccentric sander with 120 grit sandpaper, and should be thoroughly cleaned with a vacuum cleaner or duster.
Varnish is applied with a sponge on a sanded and cleaned screed. Depending on the requirement for the distinctness of the patterns, it may be necessary to dilute the glaze. The smaller the sponge, the finer the patterns on the squeegee
5 step
application of the final matt coat
Prepare only as much mixture as you need for the area (workability up to 30 minutes). Mix 4a and 4b in a ratio of 10:1 (1 kg 4a + 100 g 4b) and mix for 3 minutes with a low-speed spindle.
The matt coat is applied from a paint bucket, in two coats, with a nylon roller with a 6mm hair. If you use a wet roller to reach the dry areas, roller strokes may be visible after drying.
